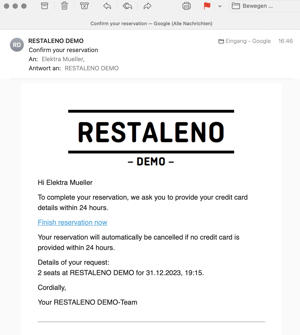
Overview
- Activate Sell Items for a shift or event
- Configure items and prices
- Configure the payment receipt
- Display pre-ordered items in the confirmation email
1. Activate Sell Items for a shift or event
Sell Items is activated directly within the respective shift or event. This allows you to use the feature only for selected events or individual shifts.
Step 1
Go to:
Settings → Events → select the desired event
or
Settings → Shifts → select the desired shift
Step 2
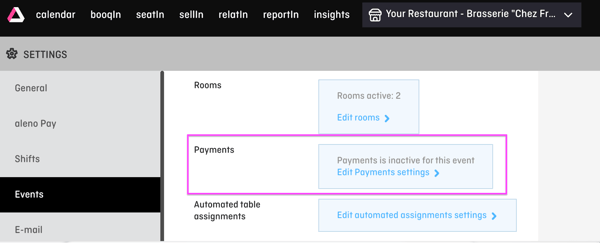
Scroll down to Payments and click Edit Payments.
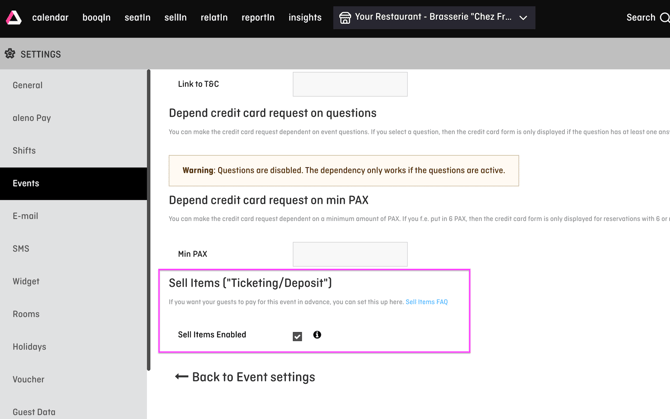
Scroll to the bottom and activate Sell Items by selecting the corresponding checkbox.
2. Configure items and prices
The items you want to offer are created through a question within the respective shift or event.
Step 1
Go back to the settings of the desired shift or event.
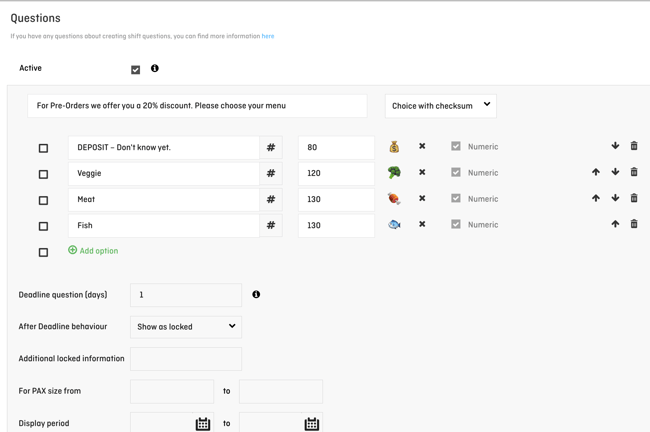
Scroll down to Questions and click Edit Question.

tep 2
Activate the question by selecting Active.
Step 3
Create the desired question, for example:
Pre-sale: Select your New Year's Eve menu here:
Then add the individual offers and their prices.
Examples:
- New Year's Eve menu
- Wine pairing
- Event ticket
- Additional offer
3. Configure the payment receipt
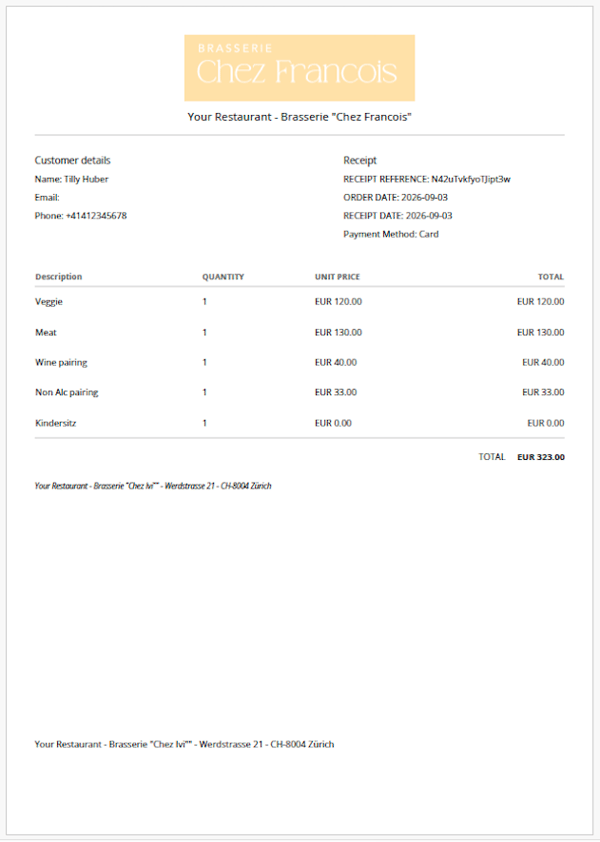
After a successful payment, the guest automatically receives a payment receipt as a PDF attachment together with the confirmation email.
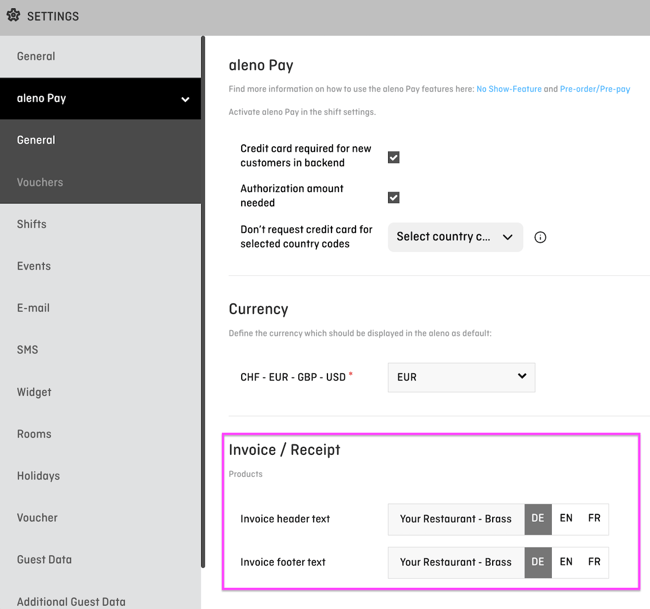
You can customise the text in the header and footer of the payment receipt under:
Settings → aleno Pay
Example of a Sell Items payment receipt
4. Display pre-ordered items in the confirmation email
In addition to the PDF payment receipt, you can display an overview of the purchased items, including quantity and price, directly in the confirmation email.
Go to:
Settings → Email → Templates
and add the corresponding code to your confirmation email template.
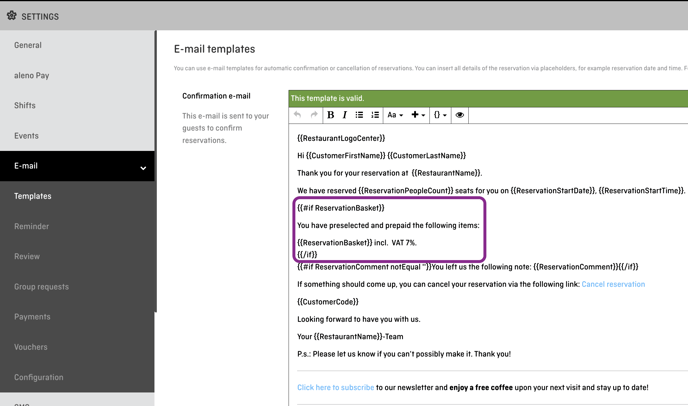
{{#if ReservationBasket}}
You've selected and paid the following articles:{{ReservationBasket}}
Inkl. MwST von 7%.
{{/if}}
The text within the template can be customised. However, the commands inside the curly brackets must remain unchanged.
Example
The confirmation email can then look like this: