Why this feature matters
With the Add to Calendar function, your guests can save their reservation directly into their digital calendar with just one click.
This helps them remember their visit and reduces no-shows — while you keep your tables turning smoothly.
How to enable the feature
There are two ways to activate the calendar invitation.
Option 1 (recommended): Attach the calendar invitation automatically
This option adds a calendar file (ICS) to all confirmation emails.
Where to find it:
Settings → Email → Configuration → tick the box:
“When active, confirmation emails will include a calendar invitation.”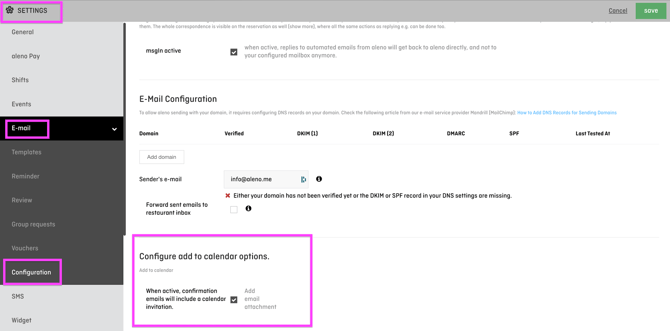
✔️ Active by default
✔️ Best for most restaurants
✔️ Works without changing your email templates
Option 2: Add a custom hyperlink in your confirmation email
If you prefer to highlight the option in your own wording, you can add a link manually.
Where to find it:
Settings → Email → Templates → Confirmation email
Insert the merge tag:
This lets you place the link anywhere in the email text, for example as:
“Add your reservation to your calendar”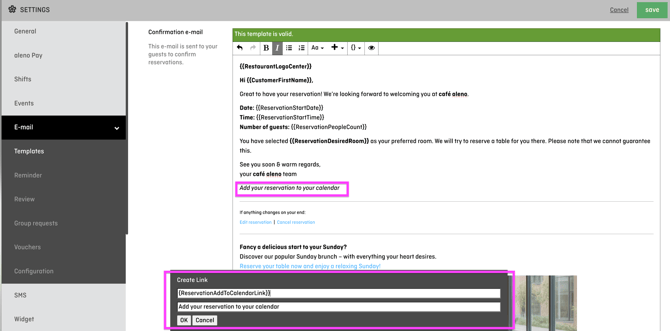
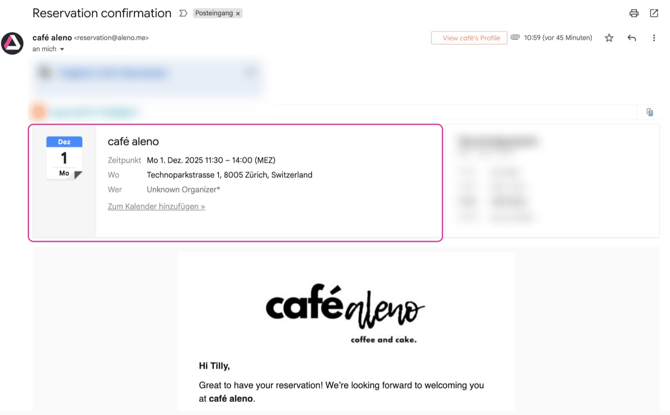
What does it look like for the guest?
Your guests will see a simple “Add to Calendar” option in their confirmation email.
Clicking it opens or downloads the calendar entry (ICS), which automatically includes:
-
Date & time
-
Your restaurant name
-
Address