
In order for a table plan to be created, a room must exist.
A corresponding table plan to a room can be created directly in the room creation function in the settings. First save the room and then select the following link:

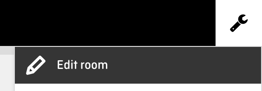
If there is already a room available, a table plan can also be created directly in your seatIn via the tool icon:
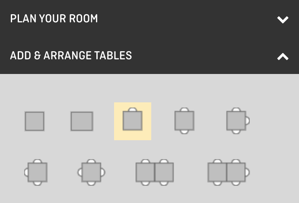
Tables
Tables are dragged onto the room surface with your cursor.
There is the choice between already given seats assigned to tables in white but also two table variants, whereby the number of seats can be individually determined.
The small red square is the rotation switch; a table can be rotated around its own axis and thus positioned according to your taste.

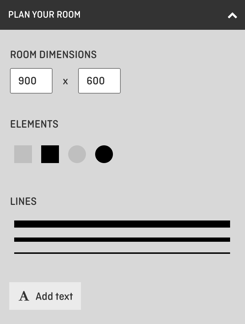
Planing your room / Room elements
The room size increases to the right and downwards, the fixation point is the upper left corner.
Lines, rectangles, circles and text fields are selected with the cursor and placed at the desired position by clicking on the room surface. Room elements can be enlarged, lengthened, made wider or narrower.
It is recommended to simplify the table plan and to arrange the tables closer together as in reality to save space and ensure a good overview.
Careful when changing the size of your room: If there are still tables or room elements in the area which is no longer visible, these elements can no longer be deleted in the editing programme. First move the table and room elements together, then reduce the size of the room.